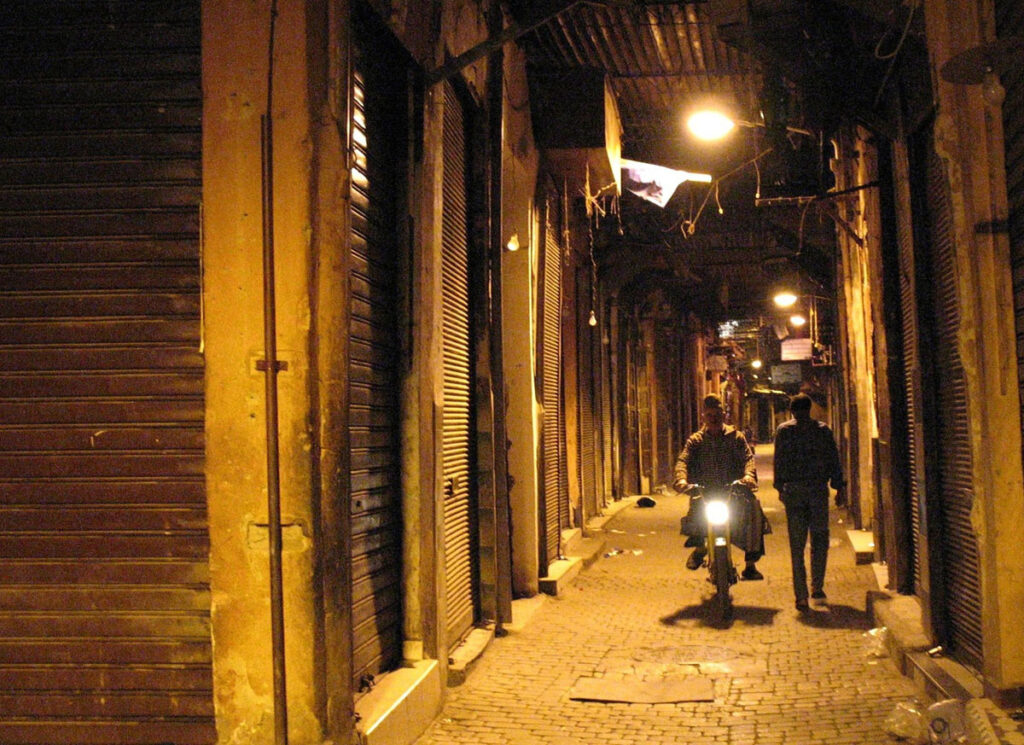
There is no need to limit the shooting time to hours when there is daylight. The camera can be used just as effectively at night, while the landscape photographer may be turning his attention to photographing cities or towns. You will need a camera with slow shutter speeds and a B shutter setting, a cable release, a stable tripod or other reliable stand, and a small flashlight. The latter accessory is especially necessary not only for illuminating the scales for setting all parameters on the camera, but also as an aid in focusing. You can use a flashlight to illuminate the subject when the available light is insufficient to see the image on the frosted glass of the viewfinder, or place the flashlight next to the subject and focus the lens on its beam. If the photographed scene has a dark environment, then in the dark it is difficult to see through the viewfinder where its borders are. A flashlight can also be useful here; If you are using a single-lens reflex camera, direct the flashlight into the lens to see where the edges of the frame are in the viewfinder.
High sensitivity film has advantages, but is not entirely necessary, as the exposure will inevitably be long in any case. Use medium-sensitivity film as it gives the best results in sharpness unless you are going to be handheld. In the latter case, ultra-high sensitivity photographic film is needed. When photographing on color film, remember that reversible films are balanced for either daylight or artificial light. Therefore, in order to correctly represent the colors of the subject, you need a material that is balanced for incandescent bulbs. The overall warm tone that is obtained under these daylight film conditions is often preferred. Try both materials and make your own choice.
Exposure for night photography is a compromise at best. When it is too small, you will get detail in highlights, usually actual lights surrounded by jet black shadows; and when it is too large, you will get shadow detail, but the highlights will be “burned out” a lot. When photographing on color film, this problem is even more complicated, as overexposure causes color distortion and the image takes on a predominantly brown tint. It is necessary to find a middle ground, and often this is a matter of purely individual choice. Experiment by photographing in a brightly lit street. Take one exposure count from the sidewalk and the second from a real light source. Take multiple shots with a range of exposures between the two, including the exact average between the two extreme counts, and select the results that work best for you. Since you shot on one roll of film and could compare the results, you will know exactly what is preferable for you.
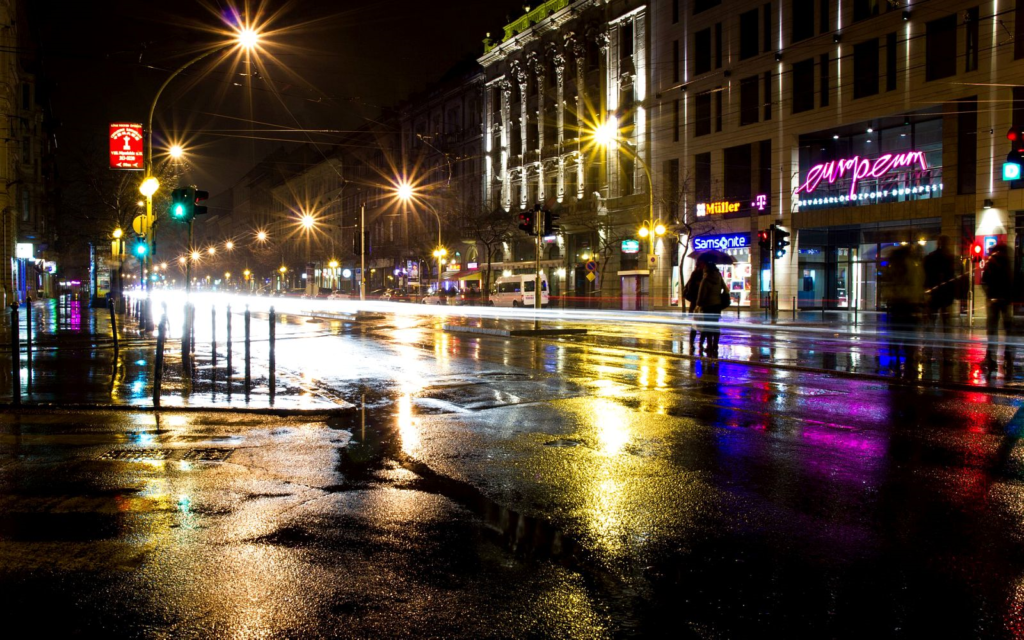
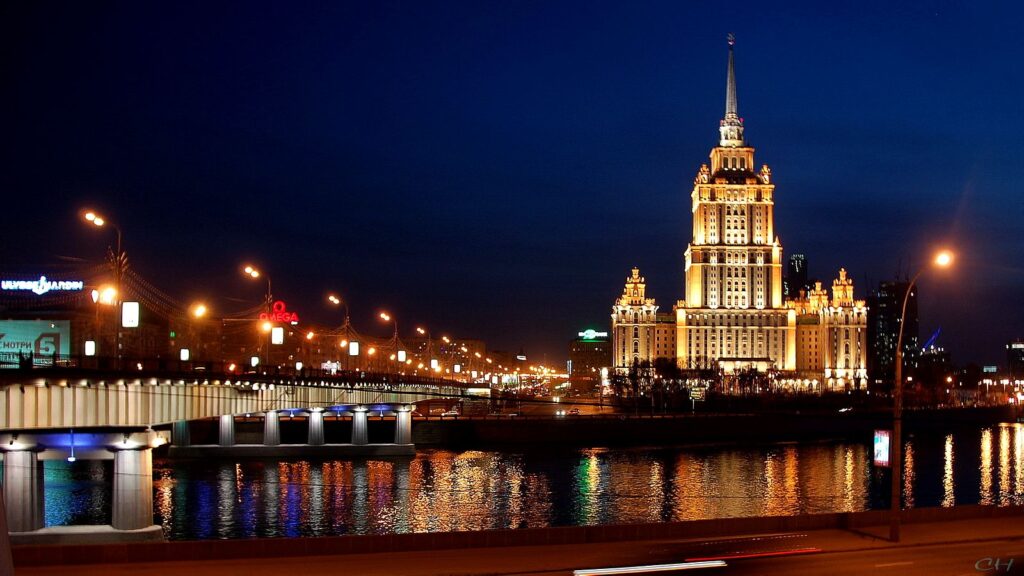
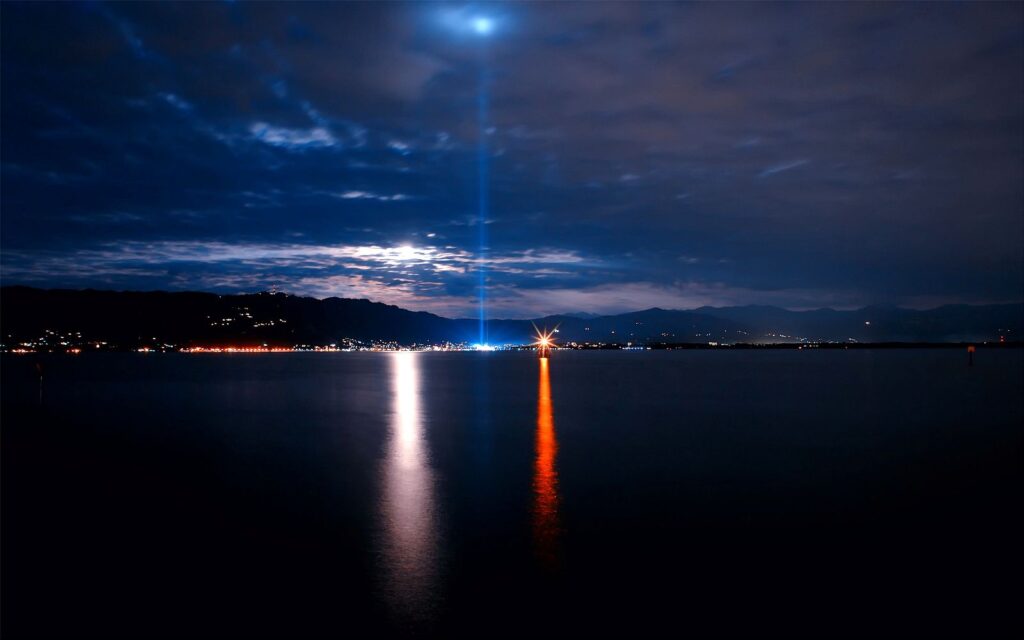
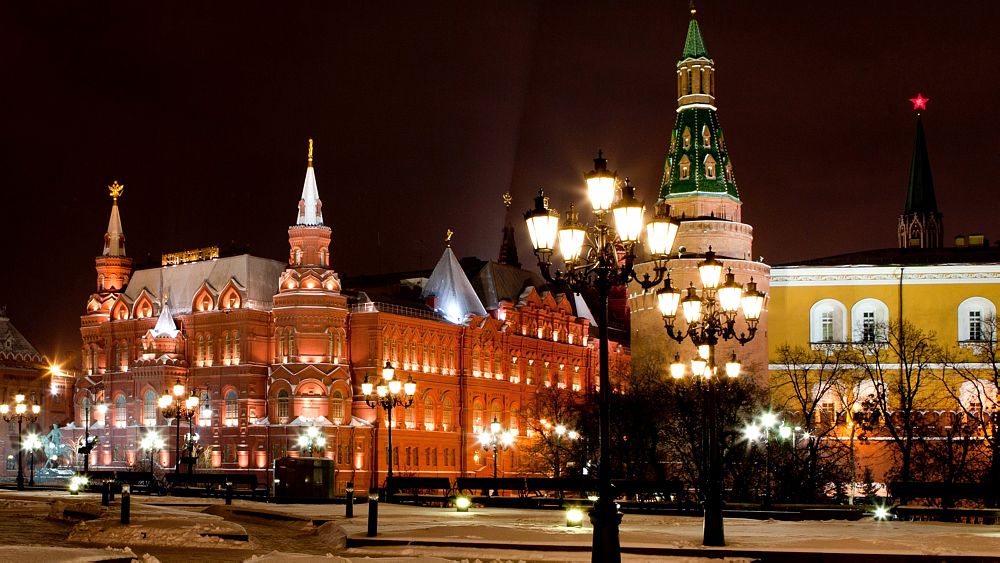
You can get very expressive pictures if you start shooting at night at dusk. At this time, there is still enough light in the sky, buildings appear silhouetted against a dark blue or possibly red sky, and the lights of the buildings create a night effect. Wet sidewalks and puddles enhance the experience of night shots by reflecting lights and bringing out details that would otherwise be lost in dark shadows. Therefore, in wet ground, the exposure should be reduced. Anything that moves during a long exposure will be captured as a blurry picture. If there are lights on a moving object (for example, from headlights or car taillights), then the light will be captured as a line. This can be used for interesting effects by positioning the camera at the edge of a busy highway. If you close the aperture to approximately 1:16, you can expose at a shutter speed of 20-30 s, and during this time many cars will pass by the camera, which will be recorded on color film as light trails. The headlights show white marks, the taillights show red and the flashing direction indicators show yellow lines.
An interesting object for night photography is the fairground. You can use a relatively fast shutter speed and a full aperture to capture the whole scene, or a slow shutter speed with a small aperture opening to get blurry lights from moving carousels and other objects that form an abstract picture. Light-flooded illuminated buildings are another object for your camera. If the bright lights are concentrated at the bottom of the building, and the top of it is marked only by individual points of light, then remember that the illumination effect will subside from the bottom up, and the result may be a photograph of the building with the upper part gradually disappearing, starting from the middle. Therefore, expose in the upper, less-lit part of the building without worrying about the well-lit lower part of the building. If you process the films yourself, you can increase the exposure of the bottom of the building when printing and thus more evenly illuminate the subject. Neon signs are among the simplest objects of night photography. When photographing them, you can rely on the readings of the TTL camera’s exposure meter, measuring the exposure by the brightness of the sign itself against a dark background. Interesting results can be obtained using the technique of multiple exposure of different neon signs on the same frame of photographic film or by changing the focus of the lens aimed at one sign or sign during exposure.
It has been said more than once about the usefulness of a tripod or similar support for long exposures, but there are times when a long exposure is needed, but there is no way to firmly mount the camera. And then it is worth remembering one more piece of advice that we have already given repeatedly on the pages of this book: rules are created in order to break them. Of course, it is not recommended to hold the camera in your hands at very long exposures, but if the lack of support forces you to give up shooting, do not stop trying. This is especially true for night photography. Despite everything that has been said so far, handheld shooting is possible even at very slow shutter speeds. It is easier to do this with a non-mirrored camera than with a single-lens reflex camera, since there is no moving mirror in the first one that aggravates the situation by its own vibrations. But even with a single-lens reflex camera with a standard lens, you can take a pretty decent shot with a shutter speed of about 1/4 s. Depending on your age, health, and overall hand firmness, you may find you can shoot handheld even at an even longer exposure.
This is done as follows. Stand up, relaxed: legs slightly apart, weight is evenly distributed on both legs, the camera is near the eye and the elbows are firmly pressed to the body. Aim the lens in sharp focus, hold your breath, and slowly press the shutter release, concentrating only on the movement of your finger. Do not take deep breaths or hold your breath while focusing and framing. This will only make matters worse. Breathe normally and only hold your breath briefly as you press the shutter release. If you find something stable nearby to lean against, take this opportunity, although it doesn’t have to. It is best not to move by pressing the camera against a solid support, such as a ledge of a building or wall, and press the shutter release as described above. If your camera has a self-timer, you can use it to release the shutter so you don’t even have to move your finger while exposing. None of these methods are perfect, but they will allow you to get out of position and take a picture in conditions that you thought were completely inappropriate for shooting. The author has successfully tried out the methods described above, using a shutter speed of 1/4 s on a single lens reflex camera with a standard lens. When working with long lenses, use a faster shutter speed, and when working with wide-angle lenses, a slower one.








More Stories
Moonlight
Twilight photography
Photographing during fog and air haze